
How to Get a 90s Blowout at Home
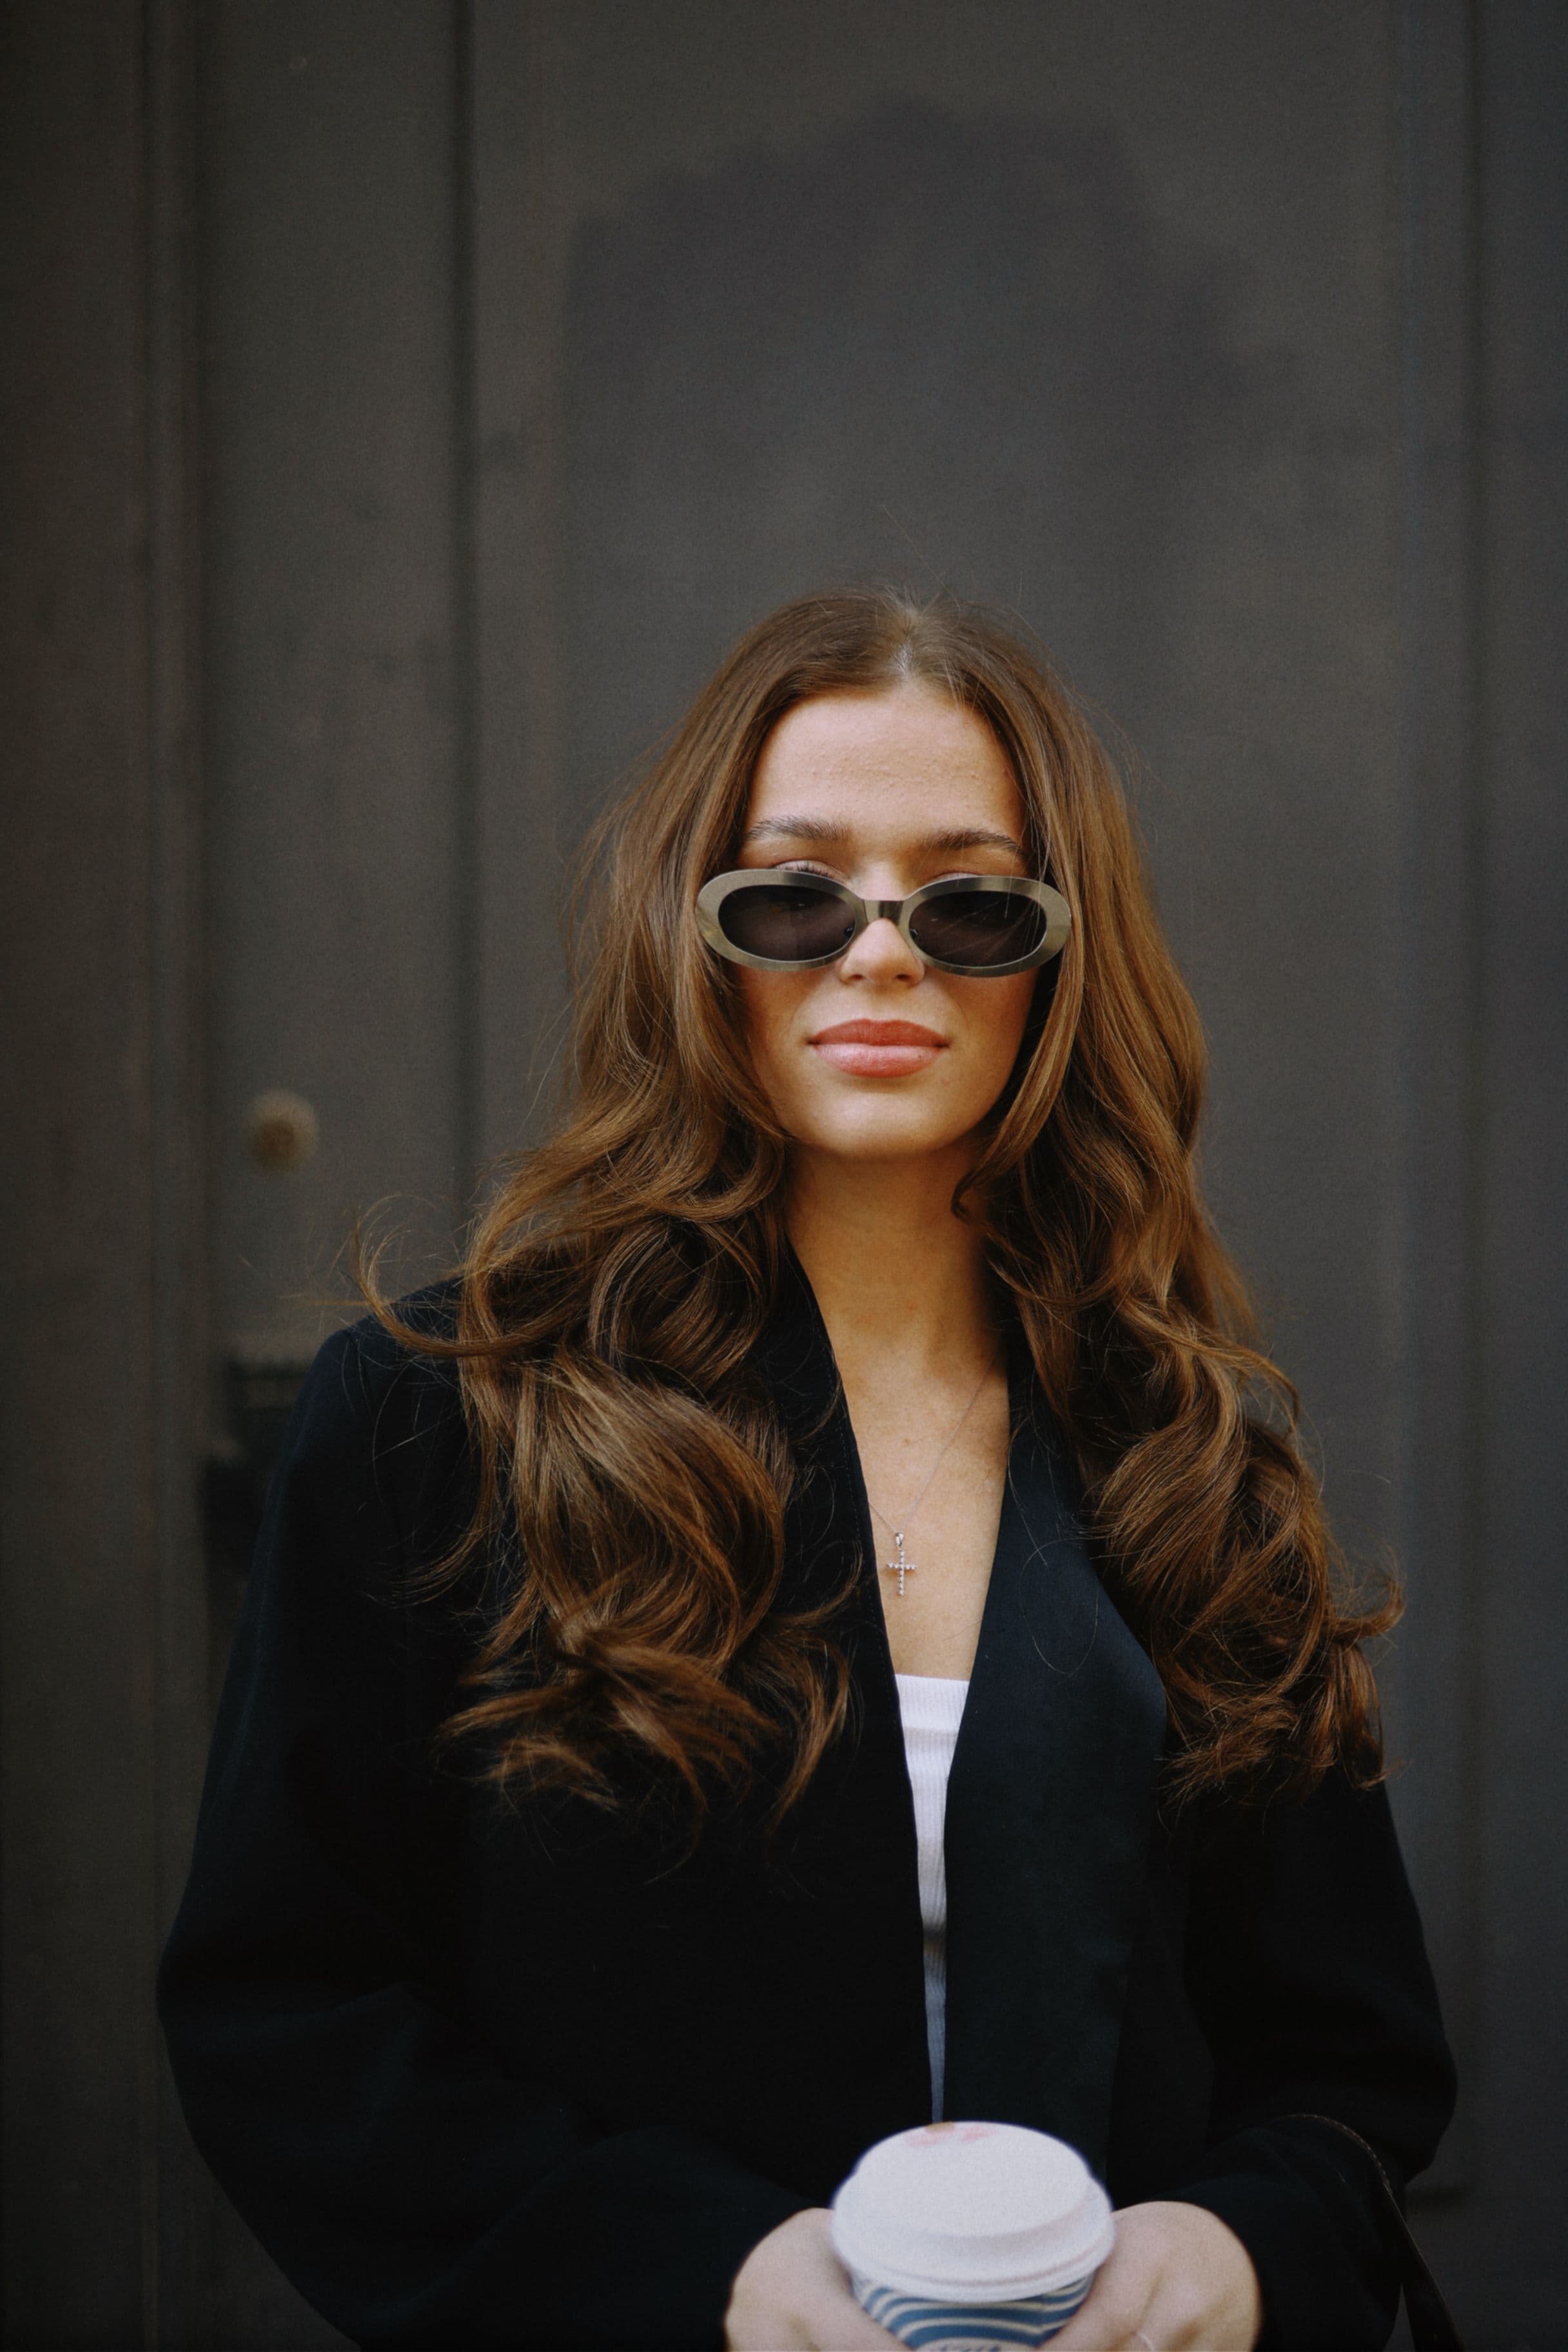
The 90s has become a recurring reference point in fashion and beauty, and the blowout is where that nostalgia becomes something you can actually do to your own hair on a Tuesday morning. Not the extreme, teased, hairspray-set volume of the era's more dramatic red carpet moments — the softer version. Root lift, movement through the mid-lengths, ends that curve rather than curl, and a finish that looks brushed-out rather than styled within an inch of its life.
You don't need a salon appointment to get there. You do need to understand what's actually creating the shape — because a 90s blowout isn't really about how big the hair gets. It's about where the volume sits, how the ends are directed, and how the whole thing is allowed to cool before it's touched again.
What Makes a 90s Blowout Different?
The defining features aren't really about size. They're about where movement happens and how controlled it looks once it's there: lift specifically at the root rather than throughout, body carried through the lengths rather than frizz, ends that curve softly under or out rather than forming a tight ringlet, and movement concentrated around the face.
The result should look smooth and a little glossy, not textured or piecey — and it should look brushed through afterward, not left in defined curls straight off the brush. That brushed-out step is what separates a 90s blowout from an ordinary set: the shape comes from the styling, but the finish comes from softening it once it's done.
What You Need
The essentials: a hairdryer with a concentrator nozzle, a round brush, a few sectioning clips, and a heat protectant. That's genuinely enough to do this.
A few things make it easier without being required: a volumising mousse or root spray, large Velcro rollers for anyone who wants extra hold at the crown, a light hairspray, and a separate finishing or paddle brush for the very last step. None of this needs to be a specific brand — what matters is a round brush in a size that suits your hair length and a dryer that can actually direct airflow rather than just blast it in every direction.
Start With the Right Preparation
- Start from clean, towel-dried hair. Soaking wet hair takes too long to shape properly and won't hold heat-set volume the way partially dry hair will.
- Apply heat protectant through the mid-lengths and ends before any heat touches the hair.
- Add a volumising product at the roots, if you're using one — worked in while the hair is still damp, from the roots outward.
- Rough-dry to roughly 70–80% dry. This isn't a precise scientific threshold — it varies by hair thickness, porosity and the dryer's power — but the general idea holds across hair types: enough dryness that the round brush can actually shape the hair rather than just pushing moisture around, while still damp enough to be genuinely reshaped by heat and tension.
Section Your Hair Properly
Working the whole head at once is the fastest way to end up with an uneven result. Divide the hair into a lower layer at the nape, a middle layer, the crown, and a front or face-framing section — and clip everything except the section you're working on out of the way.
Start at the back and bottom. Save the crown and the face-framing pieces for last, once you've built a rhythm with the technique and have a feel for how much tension and heat this particular dryer and brush combination actually needs.
How to Get the 90s Blowout With a Round Brush
- Take a manageable section — roughly the width of the brush's barrel. Larger sections are one of the easiest ways to end up with an uneven result; the brush can't grip or heat the hair evenly if there's too much of it.
- Place the brush at the root and lift. Root direction is what actually creates volume — the goal is to get the hair growing in a direction other than the one it naturally falls in, which is why the brush goes in at the root, not partway down.
- Follow the brush with the dryer, not around it. Keep the nozzle moving along the same section the brush is working, pointed down the hair shaft in the direction you're smoothing — this dries the section evenly and tends to leave hair looking smoother and glossier than air-drying without direction.
- Smooth through the mid-lengths with steady tension, rather than a quick single pass.
- Roll the ends around the barrel to create a soft curve rather than a tight curl — the aim is a bend, not a ringlet.
- Let the section cool before releasing it. A few seconds with the heat off, still wrapped around the brush, is what lets the shape actually set rather than dropping the moment it's released.
- Release gently. Unwind the section rather than immediately brushing or running fingers through it — disturbing the shape before it's fully cool is one of the fastest ways to lose the volume you just built.
Repeat section by section through the whole head, moving from the back and bottom toward the crown and face.
The Face-Framing Sections Matter Most
The pieces around the face carry more of the finished look than any other part of the head, because they're what's actually visible when someone looks at you directly. Direct these sections away from the face rather than straight down, take a little extra time at the crown specifically since that's where most of the visible lift reads, and shape these last — once you've built a feel for the technique on less visible sections first.

How Velcro Rollers Change the Result
This is entirely optional, not a required step, but it can add extra hold and a rounder shape at the crown for anyone who wants it.
- Finish shaping the section with the round brush and dryer as above.
- While the hair is still warm, wrap it around a large Velcro roller in the same direction you shaped it.
- Secure the roller in place.
- Let it cool completely before removing — this is the part people rush, and it's the part that actually matters.
- Remove the roller carefully, without pulling or stretching the section.
- Brush through gently once every section is done.
Brush It Out
Once every section is fully dry and cooled, the shape needs to be softened rather than left as a row of individual curls.
Start with your fingers to loosen things generally, then move to a proper finishing brush to blend the sections into one continuous shape rather than several distinct waves. This is where the brush you use for finishing matters. The right bristle construction can help blend the shape smoothly without flattening the volume you've just created, while a brush that doesn't suit your hair can make the final step more difficult. It's worth reading The Hairbrush Worth Keeping if you're not sure what to look for in the brush doing this final, most visible step.
Avoid aggressive brushing here. Work in sections, not one continuous stroke from root to end, and stop once the shape looks blended rather than continuing until every hair is perfectly uniform — a slightly imperfect, soft finish is closer to the actual look than a completely smooth one.
How to Make a 90s Blowout Last
Let the whole head cool fully before doing anything else — cooling is one of the more overlooked steps, and skipping it tends to shorten how long the shape holds. A light, flexible-hold hairspray helps without making the hair stiff or hard to touch up later. Sleeping with hair loosely pinned up or wrapped, rather than left to move freely against a pillow, preserves the shape overnight. Humidity and moisture are the main things working against the style, so avoid unnecessary steam or dampness where you can. And when it starts to drop the next day, refresh just the roots with a small amount of dry shampoo and a quick pass with the brush, rather than restyling the whole head from scratch.
There's no fixed number of days a blowout should last — that depends on hair type, texture and how it's treated overnight — but the principles above genuinely extend it regardless of hair type.
If Your Hair Is Fine, Thick, Short or Curly
Fine hair benefits from smaller sections, a real focus on root lift specifically, and lighter products — too much product on fine hair collapses the volume it's meant to be creating.
Thick hair needs smaller sections too, but for a different reason: thorough sectioning and pre-drying, plus more cooling time per section, since thick hair holds heat and moisture longer than it looks like it does.
Short hair works with the same principles at a smaller scale — a smaller barrel and a focus on shape rather than length of movement, since there's less hair to actually wrap.
Naturally curly or textured hair can achieve the same shape, but the preparation is different enough that it's worth treating separately rather than assuming the same steps apply identically — smoothing and root-lift techniques for curly and coily textures genuinely differ from straight or wavy hair, and this article doesn't attempt to cover that in the depth it deserves.
Common 90s Blowout Mistakes
Sections that are too large for the brush to grip evenly. Starting the round-brush step on hair that's still too wet rather than rough-dried first. Not enough root lift, which can make the finished shape read more like an ordinary blow-dry than a 90s blowout. Curling the ends into a tight ringlet rather than a soft bend. Brushing or touching the hair before it's cooled. Too much product weighing the shape down. And trying to make every single strand perfectly uniform, rather than accepting the slightly imperfect, brushed-out finish that's actually the point of the look.
The 90s Blowout, Without the Fuss
The appeal isn't really the size of the hair. It's the shape — root lift where it belongs, movement through the lengths, softness at the ends, and a finish that looks brushed rather than set. Get the preparation right, understand where volume actually comes from, and the rest is mostly patience: working section by section, and letting each one cool before you move on.
None of it depends on an expensive tool. It depends on technique, and on a brush that's actually doing its job properly rather than fighting you through the final, most visible step.
Frequently Asked Questions
What brush is best for a 90s blowout?
It depends more on hair length and bristle type than on any single "best" brush. A medium barrel suits most shoulder-to-mid-length hair, smaller barrels give more control on shorter hair or at the front, and a mixed bristle construction can balance grip and smoothness well for this particular technique, depending on the hair and finish you're after.
Can you get a 90s blowout without a round brush?
Yes — large Velcro rollers or a hot-air styling brush can both create similar root lift and movement, though a separate round brush and dryer generally give more control over exactly where the volume and direction sit.
How do you make a 90s blowout last overnight?
Let it cool completely before bed, keep it loosely pinned or wrapped rather than left loose against a pillow, and avoid unnecessary humidity or moisture. Refresh the roots the next day rather than restyling everything.
Can you do a 90s blowout on short hair?
Yes — the same principles apply at a smaller scale. Use a smaller barrel, focus on shape rather than length of movement, and expect less dramatic curve simply because there's less hair to wrap.
Keep this one
Save it to Pinterest.
Share this story
Things worth noticing
A note from Twenty Acres, occasionally. New stories, beautiful things, and the details we're keeping.